Building the InMoov humanoid robot
Discovery
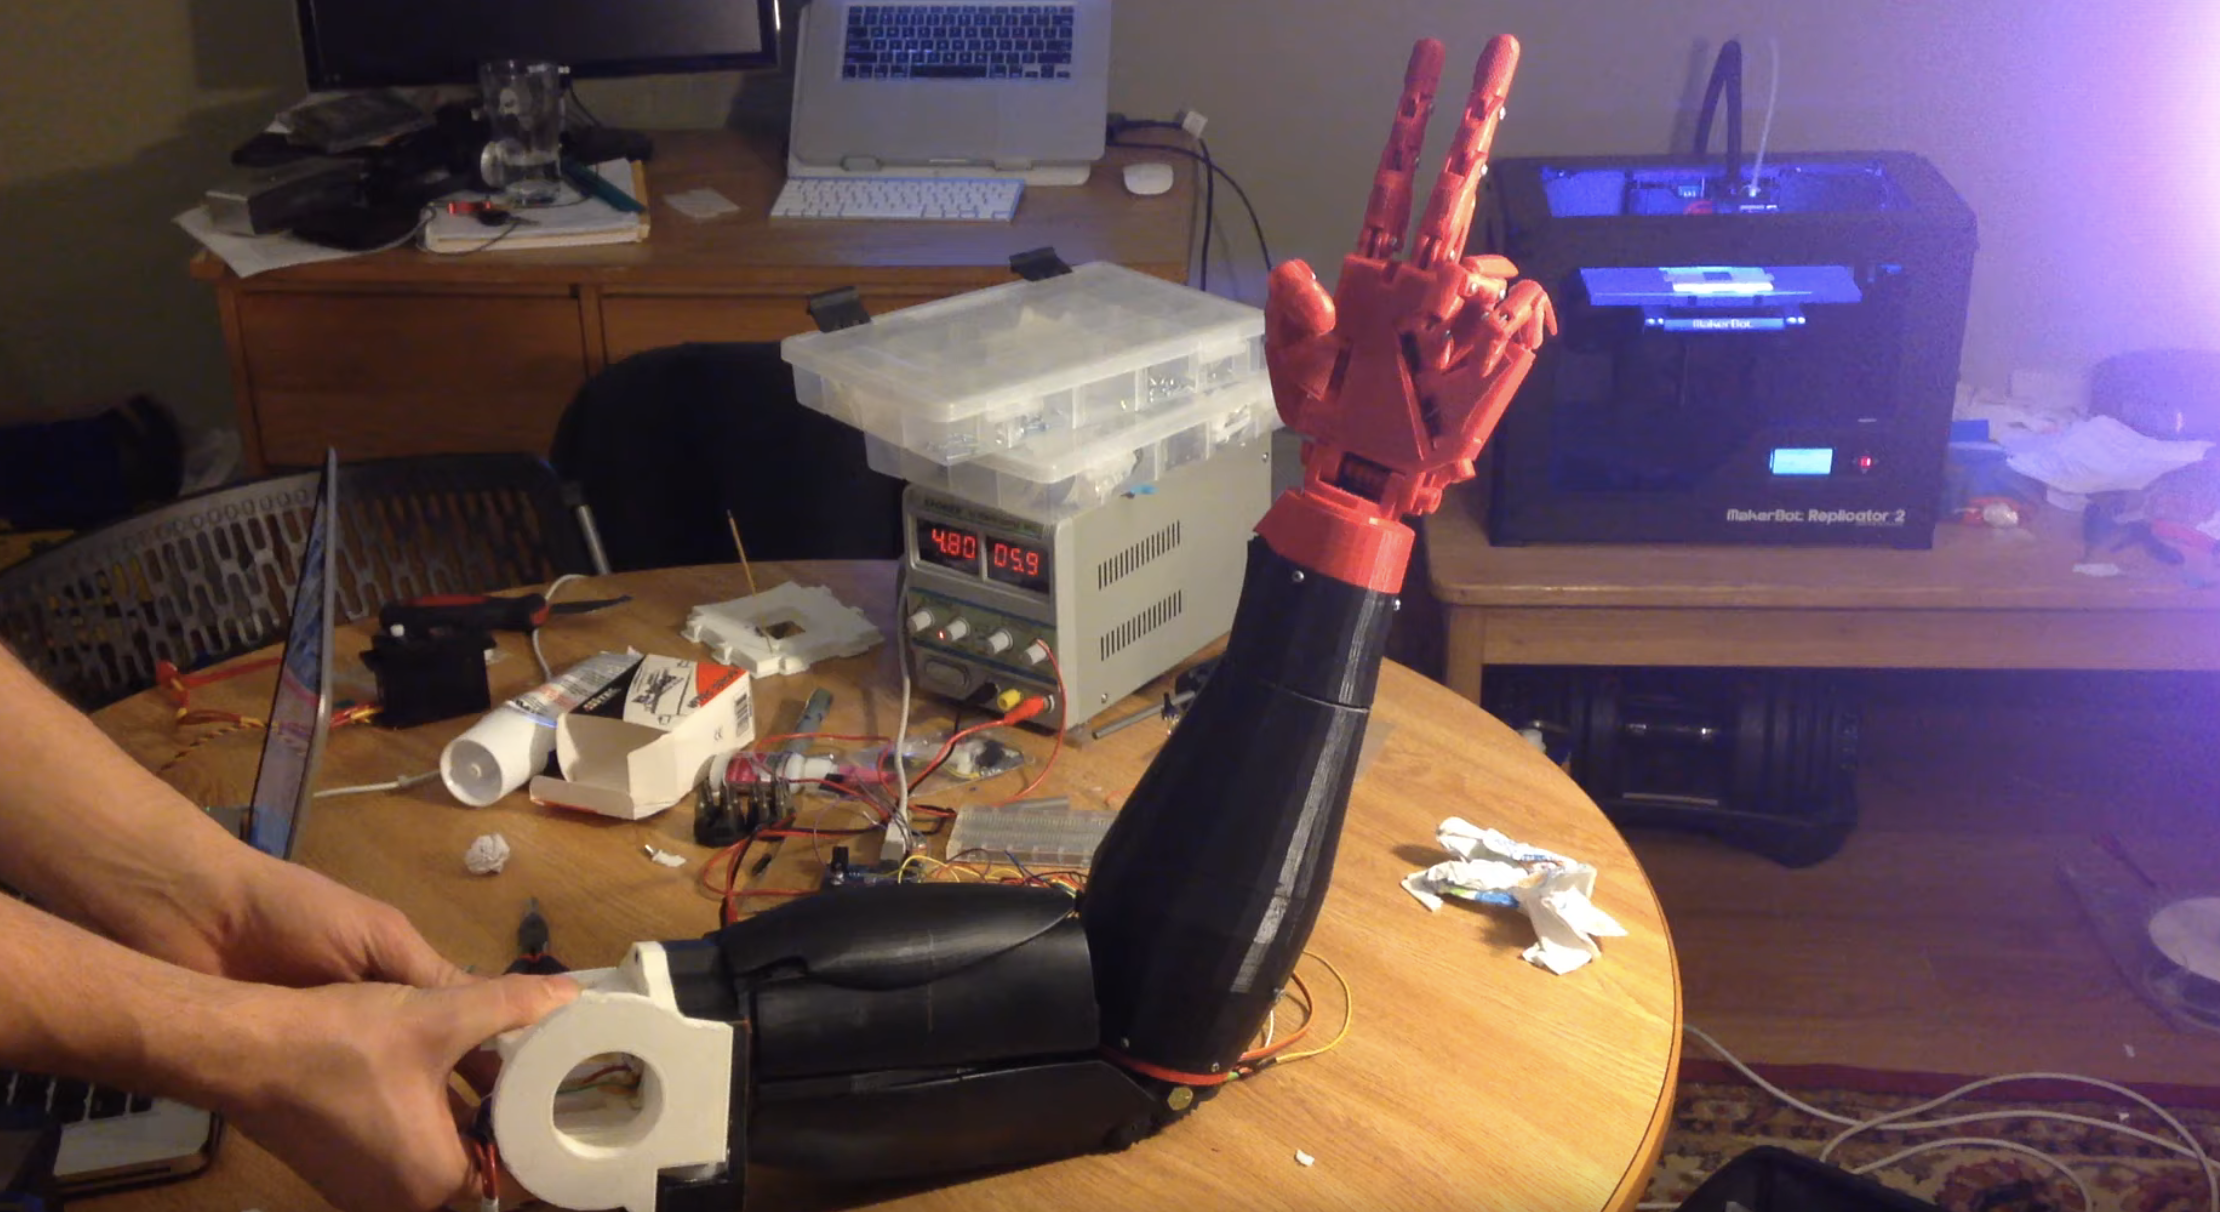
Immediately after discovering Gael's InMoov Project, I decided my next 3D printing project would be to build an InMoov Humanoid Robot. It's been an extremely great learning experience and by far the largest hardware project I've ever undertaken. There were so many lessons learned from this project and so I wanted to share them here with you. Below is a video of the arm Soroush, Alex, Doug and I were able to build within 2 months.
Lesson 1: 3D printing is still craftsmanship
Despite being able to download the exact files of each individual part of the robotic arm, every persons printer has slightly different levels of precision when printing. Because of this, it still took quite a bit of filing and adjusting to get the parts to fit together perfectly. Dealing with printer idiosyncrasies was another point of fine tuning and adjustment that turned what I thought would feel like assembling legos into more like handcrafting a violin.
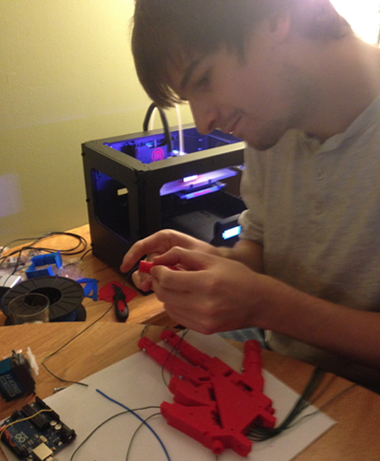 Alex Helping Out On Hand Assembly
 Each piece of the hand needed filing
Lesson 2: Each additional moving part is another potential point of failure
As the complexity of the arm grew and we were hooking up additional servos, gears and potentiometers, so did the number of potential points of failure. Unlike writing code, we couldn't assume a completed part of our project wouldn't change without us changing it, the physical world had other plans in mind. Multiple times, a piece would break, a potentiometer would stop working or a motor would get disconnected and what followed was a painful process of figuring what had gone wrong and who the culprit was.
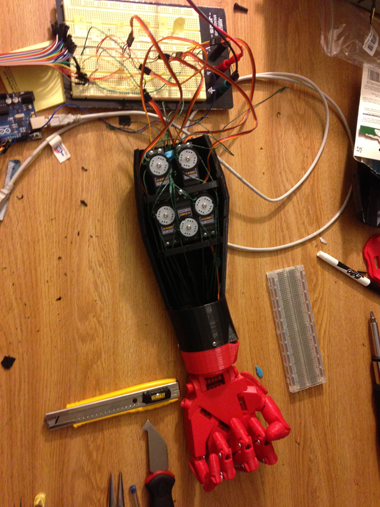 Servo cord system for finger articulation
 Soroush debugging forearm servos
Lesson 3: If they say use ABS, use ABS
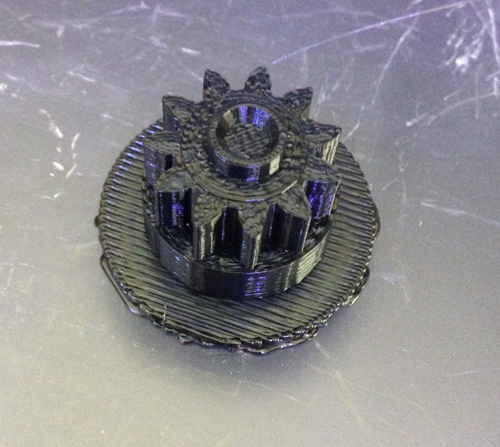
Gael specified that the InMoov is best printed using ABS plastic. The reasons are that ABS is stronger and less brittle when compared with PLA. Since I was a proud owner of a Marketbot Replicator 2, ABS proved difficult to print. I decided to go ahead with PLA and experienced first hand how quickly small gears loose their teeth when under stress. Not only this but pieces cracking under the strain became a regular occurrence.
 This bugger is tiny and got stripped 5 times
Lesson 4: Hardware is still expensive
When we started off on this endeavour, I thought I would be able to build this arm for around $200-300, once all the parts (and replacement parts) were bought, not to say anything of the tools we didn't know we needed, the cost of the arm was closer to $500. Because of this, you want to make it so that every piece you assemble can easily be re-used for another purpose. Supergluing servos to your 3D printed parts is probably not a great idea. Your prototype might only be version 1 and it would be great to re-use all those expensive components for version 2.
I hope these lessons learned come in handy as you embark on a 3D printing, hardware project of your own! If you do end up building something, tell me about it!